Buyer Guides
Headlamp and Tail Lamp Fitment: A Buyer’s Checklist
A practical checklist for identifying replacement headlamps and tail lamps by vehicle configuration, side, housing and catalog reference.
Match the Lamp to the Vehicle Configuration
A headlamp or tail lamp can differ by model year, trim, body style, side and market type. The catalog includes listings with words such as LE, SE, USA Type and without switch. These terms should be read as part of the product identity. A photograph that shows the correct general shape is not enough when the vehicle uses a different trim-level assembly.
Record the model year and trim from the vehicle record, then compare the old lamp and the listing. If the trim is uncertain, use the visible lamp features and original labels rather than choosing the most common version. The product description and reference are the basis for the inquiry.
Confirm Left and Right
Left and right lamps may mirror each other in shape while using different mounting points and references. State the side explicitly. If the listing contains separate right and left OE references, copy both and make clear which side is required.
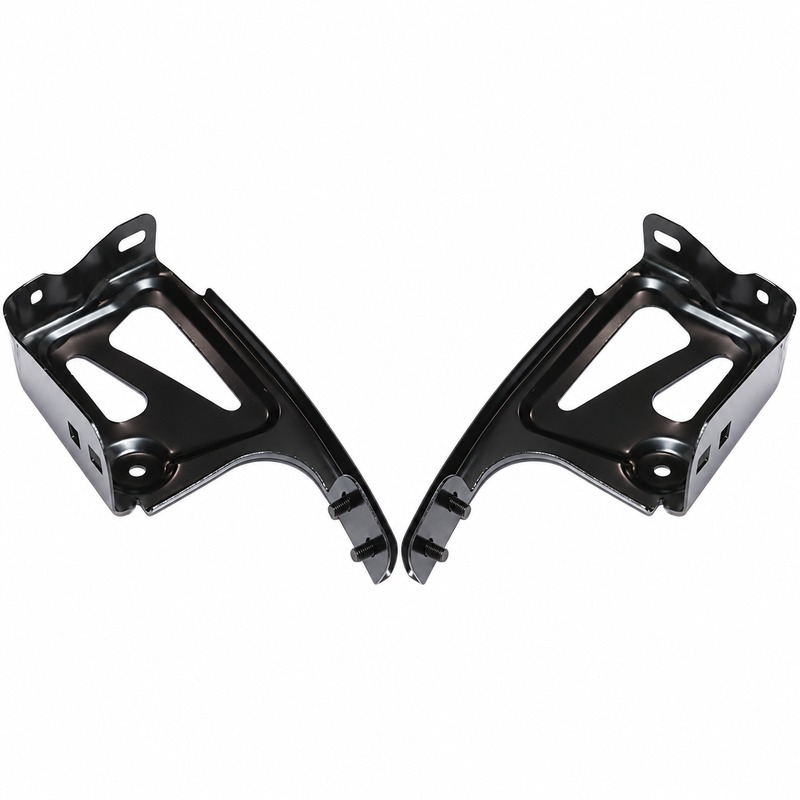
When photographing the old lamp, include a view of the vehicle orientation so the side is clear. A close-up of the connector alone does not establish which side of the vehicle is being repaired. This is especially important when the supplier quote uses an image that shows a pair.
Look Beyond the Outer Lens
Inspect the housing, mounting tabs, connector area and any visible control or wire components. The catalog includes examples of head lamp and tail lamp assemblies, as well as related components such as a head lamp wire. A wire or connector is not automatically included because it appears in a repair photograph.
Ask whether the listing covers the lamp assembly alone or includes a stated related component. Check any wording about switch, cable count, lamp type or trim. If the product record does not answer a question, do not infer it from a similar vehicle listing.
Trim and Version Examples
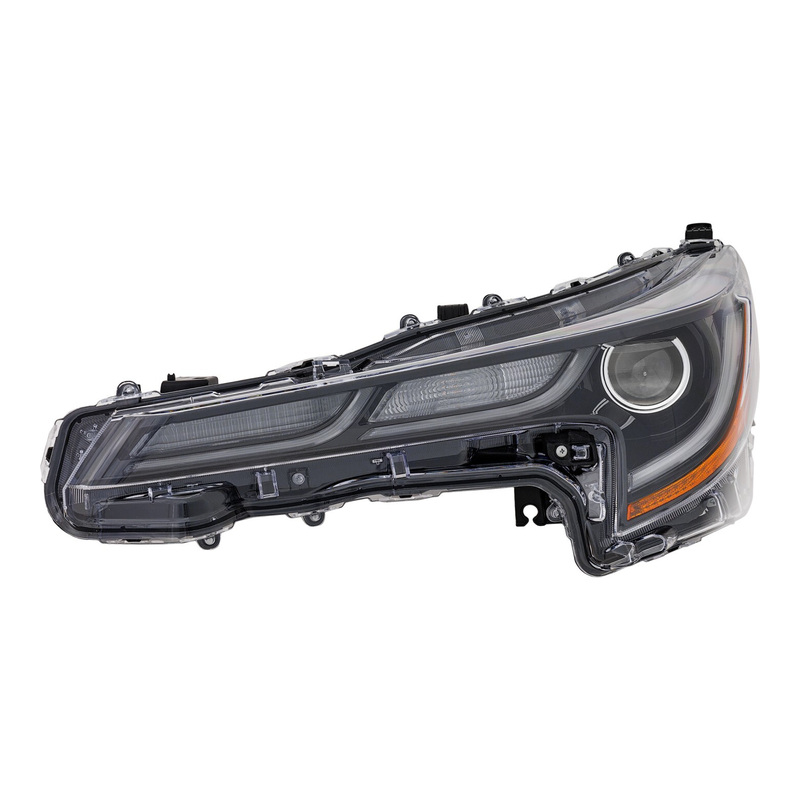
Catalog examples show why version checks matter. A Tacoma 2024 head lamp may be identified as LE or SE, while a tail lamp may be identified as a version without switch. A Corolla 2019 lamp may use a USA Type designation. These are not interchangeable adjectives; they narrow the target product.
Use the full title and specifications together. The model name tells you the vehicle family, the trim or type wording helps identify the configuration, and the item or OE reference anchors the comparison. If one of those pieces conflicts with the vehicle, resolve the conflict before ordering.
Inspect the Mounting Area
Photograph the mounting points on the vehicle after the old lamp is removed. Check for broken tabs, damaged brackets, missing clips and evidence that the surrounding panel has moved. A replacement lamp may be correct even when the mounting surface needs repair, but that work must be identified separately.
If the old lamp has been replaced before, note that history. A previous repair can explain a mismatched bracket or connector. Provide the current condition rather than relying only on the vehicle’s original specification.
Quote Request and Final Check
Send the item or OE reference, vehicle model, model year, trim or type wording, required side, quantity and destination country. Include photographs of the old lamp label, connector area and installed position. Ask the supplier to confirm whether the quote is for a complete assembly or a named component.
Before approval, compare the quote with the catalog title and reference one final time. Confirm that left or right, trim, switch and any related-component wording is correct. Keep the final reference with the repair record so a later inquiry starts from the exact part that was supplied.