Buyer Guides
How to Read OE Numbers for Collision Repair Parts
A practical method for recording vehicle data, OE references and item numbers so replacement parts can be compared and quoted accurately.
OE Reference, Item Number and Product Name
An OE reference is a useful identification clue associated with an original part or its cataloged application. An item number is the supplier’s or catalog’s own product identifier. A product name explains the component’s role. These three fields answer different questions and should be recorded separately. Replacing one field with another can create ambiguity when two similar products are being compared.
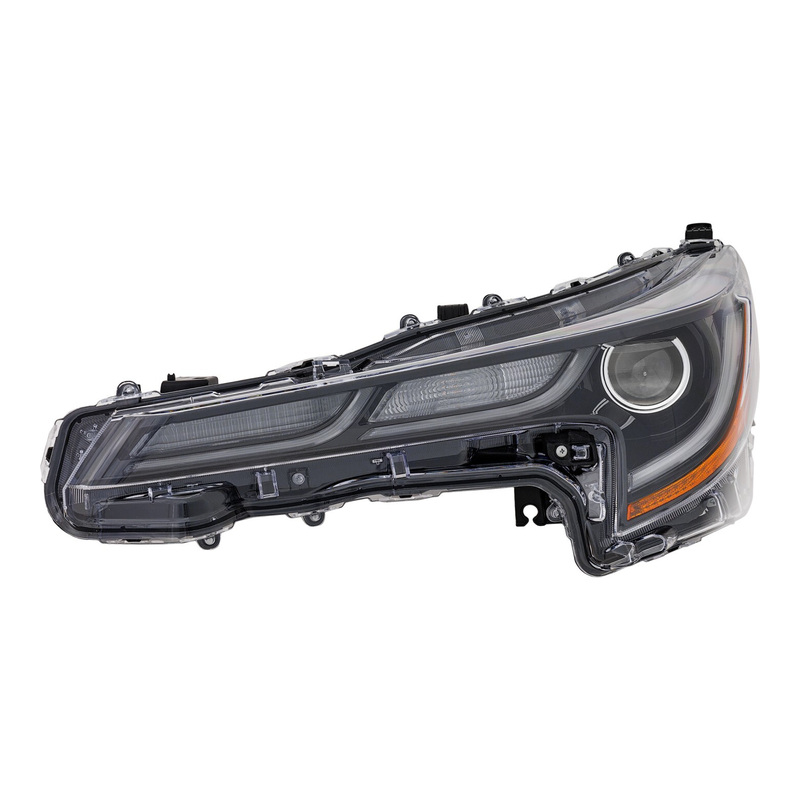
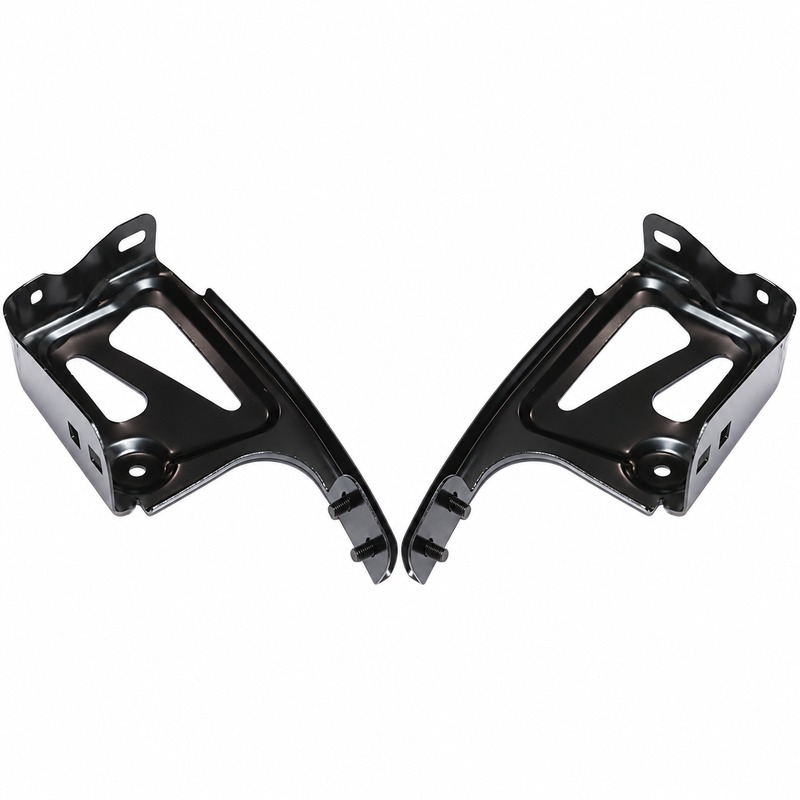
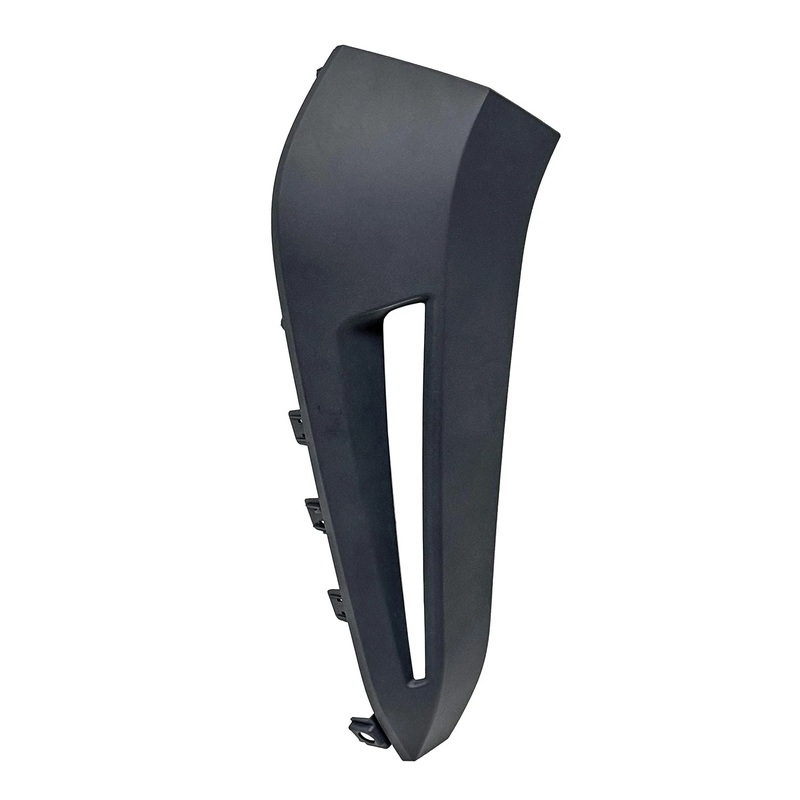
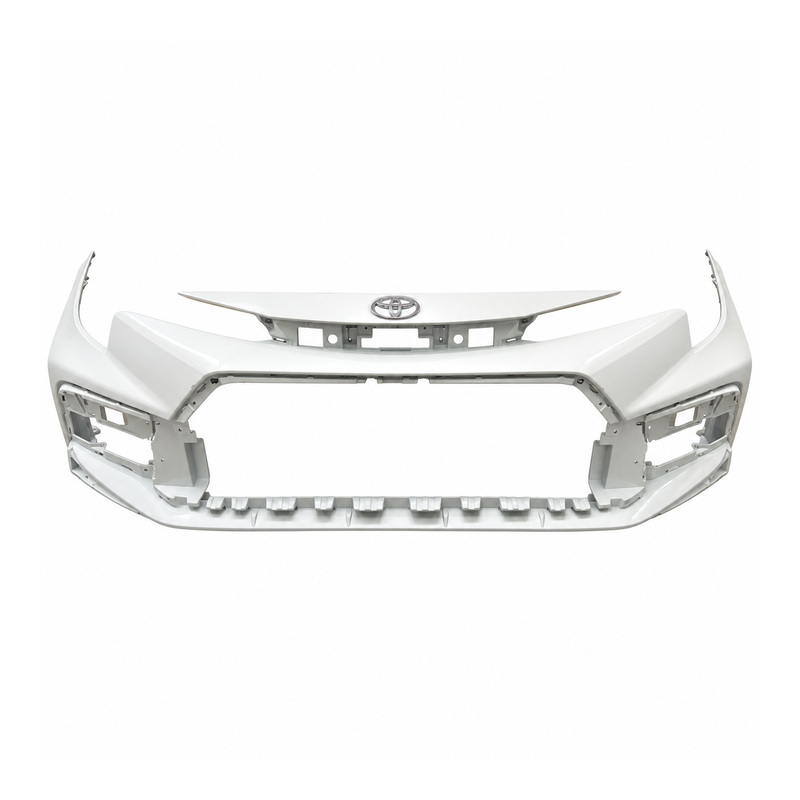
For example, a bumper listing may have a descriptive product name and a separate OE reference. The reference helps focus the comparison, but it should not be read without the position and vehicle application. A buyer who sends only one number may receive a quote for a part that carries that number but does not correspond to the damaged location.
Begin With the Vehicle Record
Collect model year, model name, trim or body style, market designation and any relevant configuration wording before searching. Some catalog listings explicitly state USA Type, LE or SE. Those details are part of the listing and can separate products that share a broad model name. Use the vehicle documentation and visible identification rather than guessing from the badge alone.
If the vehicle has been repaired or modified, state that in the request. A replacement lamp, bumper or bracket may interact with earlier work. A clear vehicle record does not guarantee fitment, but it gives the supplier a consistent basis for checking the target item against the catalog description.
Find and Photograph the Original Label
Inspect the old component while it is still installed or immediately after removal. Photograph the complete label, not only the digits you think are important. Include a wider photograph showing where the label sits on the part. Clean away loose dirt carefully when it prevents the characters from being read, but do not alter or erase the marking.
Record punctuation and side identifiers exactly as shown. A reference printed for a right-side component may be different from the left-side reference even when the product title groups both sides together. If the label is damaged, photograph the housing, connector, mounting points and surrounding vehicle area so the position can still be established.
Compare the Reference With the Listing
Open the candidate listing and read the full product title, specifications and reference fields. Compare the role of the part, the side, the model-year statement and the OE reference. Do not rely on a search result snippet when the full listing contains a different trim, hole, switch or assembly description.
If the catalog presents multiple references in one specification field, copy the entire field into your notes. Keep the terms “right,” “left,” “without,” “with” and “set” visible. These short words often carry the distinction between two different repair outcomes.
When the Numbers Do Not Match
A mismatch is not automatically an error. The old part may have been superseded, the listing may describe an assembly, or the reference may be printed in a different format. Do not force the numbers to agree by dropping characters. Instead, provide both values, identify where each was found, and ask for a reference comparison.
If the vehicle record and the old label also conflict, state both. The supplier can review the evidence more accurately when the conflict is visible. Avoid presenting an assumption as a confirmed fact; a clearly labeled uncertainty is easier to resolve than a number that has been silently changed.
Request a Quote That Can Be Audited
A complete request includes the item or OE reference, product role, vehicle details, side, quantity and destination country. Add photographs of the old label and installed position. Ask the supplier to repeat the exact reference being quoted and to identify whether the offer covers one part, a pair or a set.
Before approval, compare the returned quote with the catalog data one more time. Confirm model coverage, position and any configuration wording. Store the quote, item reference and product photos with the repair record. This simple trail gives the next buyer or technician a reliable starting point if the same area needs attention again.